
Now, I do not always think it fitting to paint over wood. However, in this case, there was really no other way. There was literally a chunk taken out of one of the corners (seriously I think it may have been from a dog or something? so gross) and the back of the piece had a little hole in it too.
 |
| I used some wood filler to try and rebuild the gnawed off corner. I didn't really do an awesome job. |
 |
| After a good priming. Normally, when I use a 'paint and primer in one' product, I don't do an initial priming coat. Given that this piece wasn't solid wood, I thought it could use all the help it could get. |
 |
| I apologize for the glare in the photos, but I didn't know how to avoid it! |

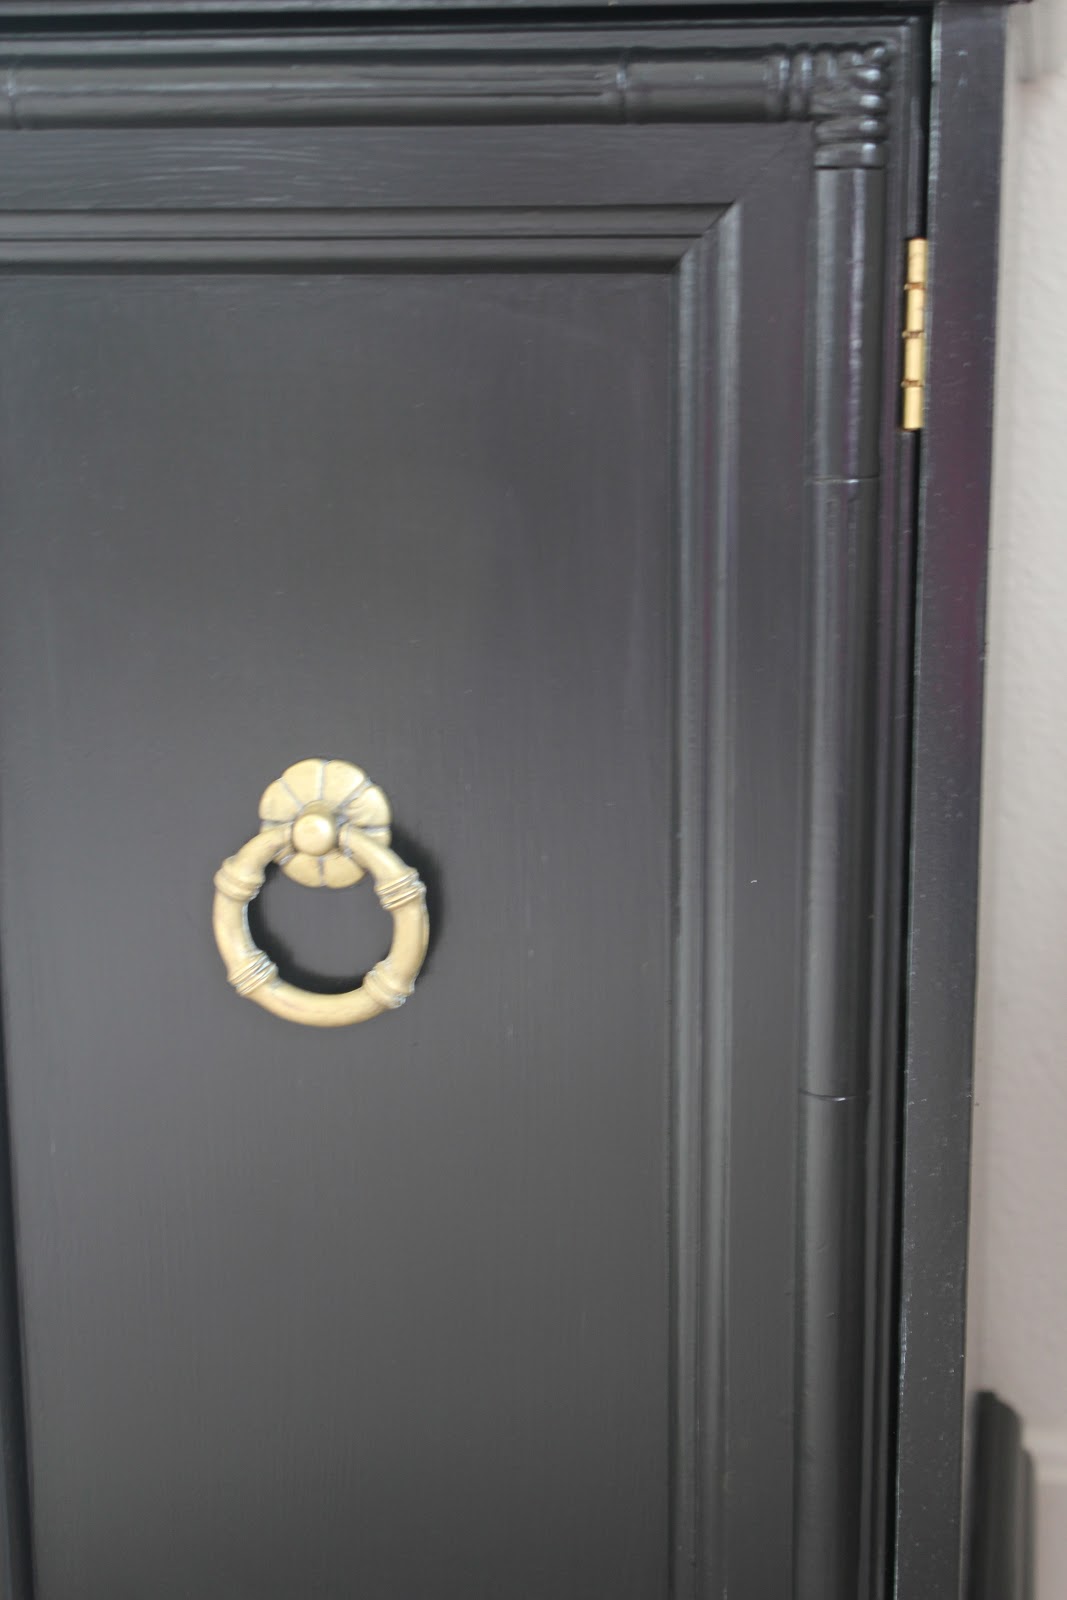
The transformation of the hardware is maybe my favorite part of this project. It looked as though they were brass, so I did a quick test to see if they were solid brass or brass-plate. All you need to do to determine this is touch the piece to a magnet. If the hardware sticks, it's brass-plate; if not, it's solid brass. In this case, the knobs and ring pulls were solid brass and the hinges were brass plate.
 |
| This is what the hardware looked like originally. To clean up these diamonds in the rough I soaked the hardware in Brasso for a couple hours. I was a bit alarmed when I returned to see what had transpired... |

 |
| After (too much?) soaking, you can see how the hinge's brass plating had worn off. |
 |
| But after a little extra elbow grease, the solid brass pulls looked fantastic! I love the patina. |
Since I needed to fake the brass look with my hinges, I sprayed them with this, and it is quite hard to tell that they're not real brass! Centsational Girl has a great post about testing for brass, cleaning it, and faking it with spray paint. Read that here.
 |
| After their paint job. |


I ended up choosing to cover the back of the cabinet with some black and white houndstooth fabric that I already had. I really like how it reads neutral, yet still adds a bit of interest. The combination of the houndstooth, the black paint and the brass hardware just seems fitting too, given my obsession love of Downton Abbey and all things English :)
Adding fabric to the back was very simple. After measuring and cutting my pieces, I just sprayed the back of the fabric with a spray adhesive (available at fabric stores) that could be repositioned if needed.
Humor me with one last before and after picture, because it really is so satisfying :)

Since I already had some of the supplies on hand, the total cost of this project came in at well under $70. Now, if we end up moving to Europe this summer like we're hoping (I hope to have more details to share soon!), I can't promise I won't trade this guy in for a legit antique, but for now, I'm quite happy with it :)
*post edit: I forgot to mention that I painted the inside of the lower half a happy color, just for a little fun surprise!

Let me know if you head this way and I will share some of my favorite French, Belgium and German antique places!
ReplyDelete