So, round and smaller…my mission was clear. (I'm sure you don't have to guess where I went looking.) I eventually stumbled across this listing.

I loved the unique shape and the dimensions seemed perfect, but of course, a bright blue top and white base were not really what I had in mind. While the easiest thing would have been to just paint it, I really felt like my room could stand a dose of good 'ol fashioned wood. I have quite a few painted and upholstered pieces, and a pretty wood-stained piece seemed like the right addition.
I'm also nothing if not over-zealous for a daunting project that's perhaps just slightly out of my comfort zone.
Our sweet babysitter was kind enough to accompany me to go see the table. She is one of my very favorite things about California.
 |
| I am in denial about how old I am, so I like to pretend that our babysitter, Natalie and I are peers by asking her if she wants to hang out with me and take selfies with me. |
Now I have to confess, I almost backed out on the table when I saw it. It seemed like the top was a veneer, and it had some small splits in it. There's also something about seeing an old piece of furniture in the dark in a not so cute environment that can cause even the most visionary among us to doubt potential! But, when the seller said she'd take 40 bucks for it, I figured it was worth a try. (Also having the vote of confidence from some DIY gurus like my friend Carson and even Jenny Komenda herself gave me an extra dose of courage!)
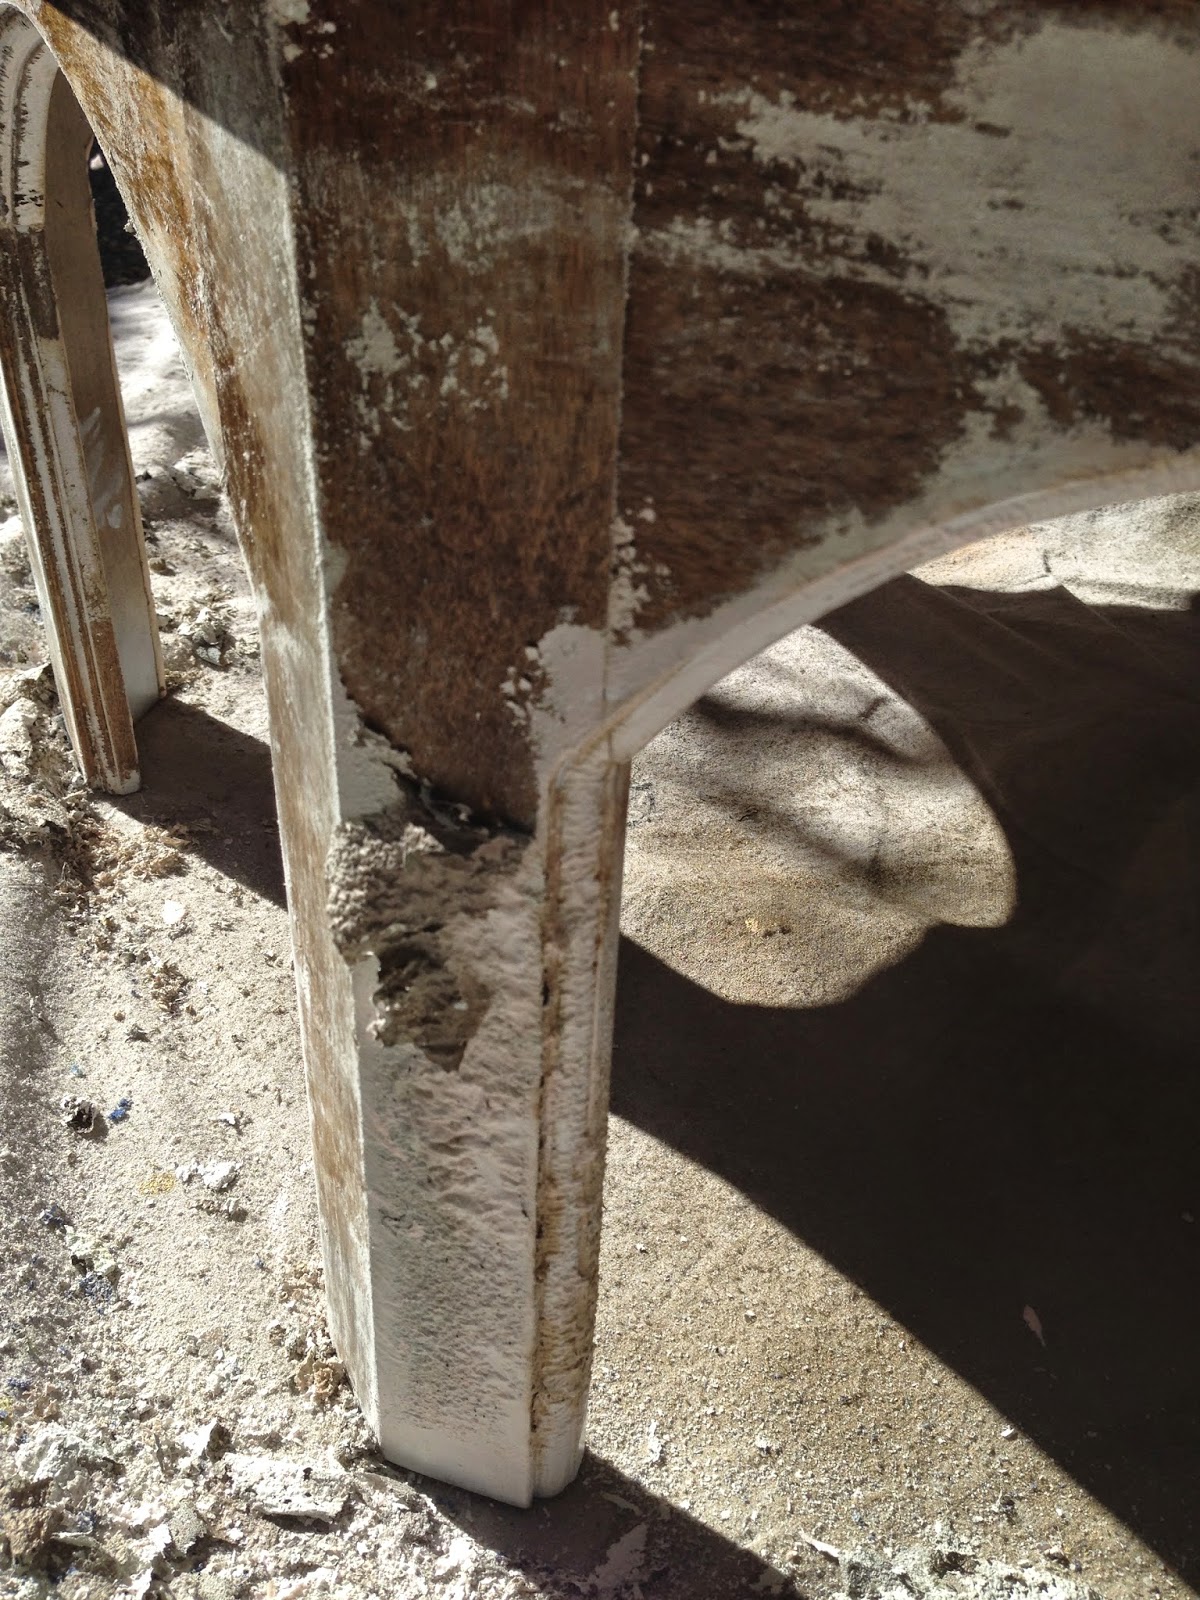
I was itching to get started to see what would come of this guy with a little elbow grease, so I followed the advice I read on Little Green Notebook and Little Black Door and quickly got to work. I applied Citristrip all over the table and found that so long as I put it on thick enough, it took the paint right off the legs of the table.
 |
| The orange substance is the Citristrip product. |

 |
| You can see how the stripper did its job by causing the paint to bubble up so that I could scrape it off. |
The top was another story. Something about the wood veneer made for a surface that sucked that blue paint deep down into each and every crevice! When I had hit a wall with Citristrip, I figured I'd pull out the big guns and go for the heavy duty stuff. It seemed to be more effective, but it was still slow going and required multiple coats.


I used our electric sander and made progress with that too, but no matter what I did, that blue paint would not disappear. {This is when it comes in handy to be stubborn and obsessive. Eventually you will prevail.}
 |
| It was fascinating to see how the stripping agent literally lifted the blue out of the wood. |

I finally got that sucker down to about as raw a state as it was gonna get (We are talking weeks went by with multiple coats of the stripper!). Sweet mercy.
I cleaned the wood with mineral spirits, gave it a final light sanding with a finer grit paper, and wiped it down. (I also repaired a few of the cracks in the veneer with a stainable wood filler)


Finally, it was time to apply the stain! I had only done one other stripping and staining project, so this was still pretty new to me. I used a brush to apply the stain, but I think a cloth would have perhaps worked better. Working with the grain of the wood, I applied the stain in manageable sections and allowed it to soak into the wood for 10-15 seconds or so before I wiped off whatever was remaining with a clean cloth.
 |
| This is the only photo I have of this process as I was nervously trying to work quickly, hoping I wouldn't mess it up! |

i can't wait to see it!!!! i love your blog!!!
ReplyDeletelooks awesome!!!!! what a find!!!!
ReplyDelete